Mastering the Art of Mounting in Monster Hunter Wilds
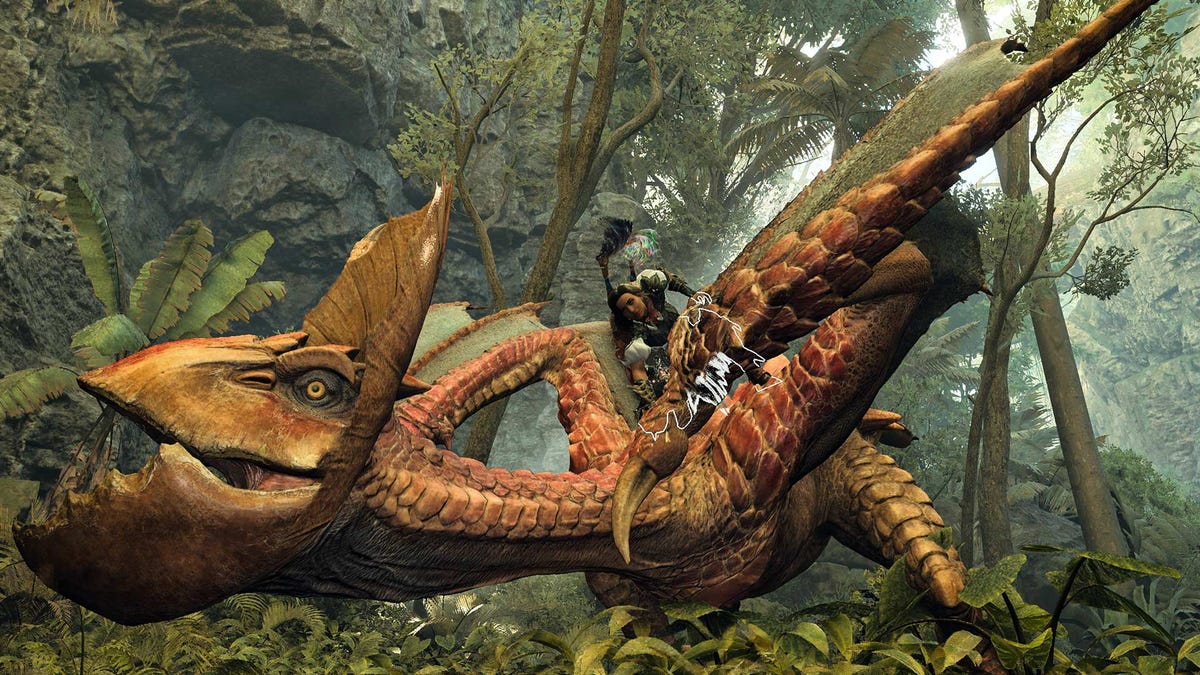
In the expansive world of Monster Hunter Wilds, few experiences are as exhilarating as the act of mounting a colossal beast. The thrill of grappling onto a massive creature while your fellow multiplayer teammates watch in awe adds a unique dimension to the game. While the mounting mechanic has undergone refinement compared to earlier installments of the series, players often find themselves navigating through its intricacies on their own. Whether you are a novice hunter just starting your journey or an experienced player looking to master the latest iteration, understanding the nuances of mounting is essential for a successful hunt.
What Is Dragonsplague?
Before delving deeper into the mechanics of mounting, its worth noting the looming threat of Dragonsplague, a devastating contagion introduced in the upcoming Dragons Dogma 2. This new ailment poses a significant challenge, but for the purposes of this guide, we will focus on mastering the art of mounting in Monster Hunter Wilds.
How to Mount a Monster
Mounting a monster may appear deceptively simple at first glance. The fundamental technique involves consistently hitting your target with jumping attacks. The easiest method to initiate a mount is by leaping off your trusty Seikret, but players can also achieve this by running off a higher ledge or swinging from a Wedge Beetle. Additionally, utilizing the aerial combos of certain weapons, particularly the Insect Glaive, can yield successful mounting attempts as well.
Its important to understand that mounting operates similarly to status ailments in the game. Each creature possesses a hidden threshold for damage that must be surpassed before a mount can be triggered. By landing enough aerial strikes, you will eventually find yourself grappling onto the monsters back. Your weapon choice plays a pivotal role in this process; for instance, a Great Sword will inflict more damage and facilitate a quicker mount compared to the Dual Blades or the Bowgun.
However, players should keep in mind that mounting is not a tactic you can employ repeatedly throughout a single encounter. Like status ailments, the threshold for mounting increases after each successful attempt, meaning that achieving a second mount will require significantly more effort and time. Consequently, it may not always be worth the struggle to try for additional mounts in one battle.
Mounting Tips
Once you successfully mount your hunting target, the excitement intensifies as you enter a high-stakes mini-game. During this phase, the monster will do everything in its power to shake you off. You have several actions at your disposal, and the challenge lies in managing your focus across different gauges during this brief window, which lasts between 15 and 30 seconds.
The optimal strategy for mounting involves inflicting damage by opening as many monster wounds as possible, culminating in a powerful finisher. This approach not only maximizes your damage output but also sets the stage for additional opportunities later on. Here are several crucial tips to enhance your mounting experience:
- Your stamina gauge will gradually decrease while mounted, and you will notice the screens border darkening as the monster attempts to shake you off, which accelerates stamina depletion.
- A circular gauge will appear in the bottom left corner, gradually shrinking and turning red as the creature approaches the point of submission, thus signaling the potential end of the mounting phase.
- In-game tutorials suggest using the Brace function (R2/RT) preemptively before the monster begins its shake-off attempts. However, repositioning to a different area on the monsters back can help you conserve stamina while continuing your assault.
- Utilizing Weapon Attacks (R1/RB) will deal the most damage and drain the mounting gauge most quickly, although they are less effective at opening wounds. Conversely, Knife Attacks are faster but inflict less damage.
- The Strong Knife Attack (Triangle/Y), while slower than its Light counterpart (Circle/B), is more effective in opening wounds and is generally the preferred attack during mounting.
- Performing a Weapon Attack on an open wound triggers a unique weapon finisher that concludes the mounting mini-game. Its wise to execute your finisher on a wound that would be more challenging to access when grounded.
By wisely managing your time while mounted, you can significantly ease the challenges of your hunts. Additionally, investing in the right skills, such as the Master Mounter Group Skill, can further streamline this process. This skill lowers the mounting threshold and can be acquired early in the game by defeating certain monsters, such as the Quematrice.